03 장
UIAlertController

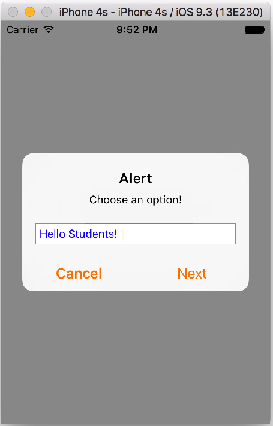
UIActionAlert 이벤트 처리를 위한 클로저(Closure) 사용
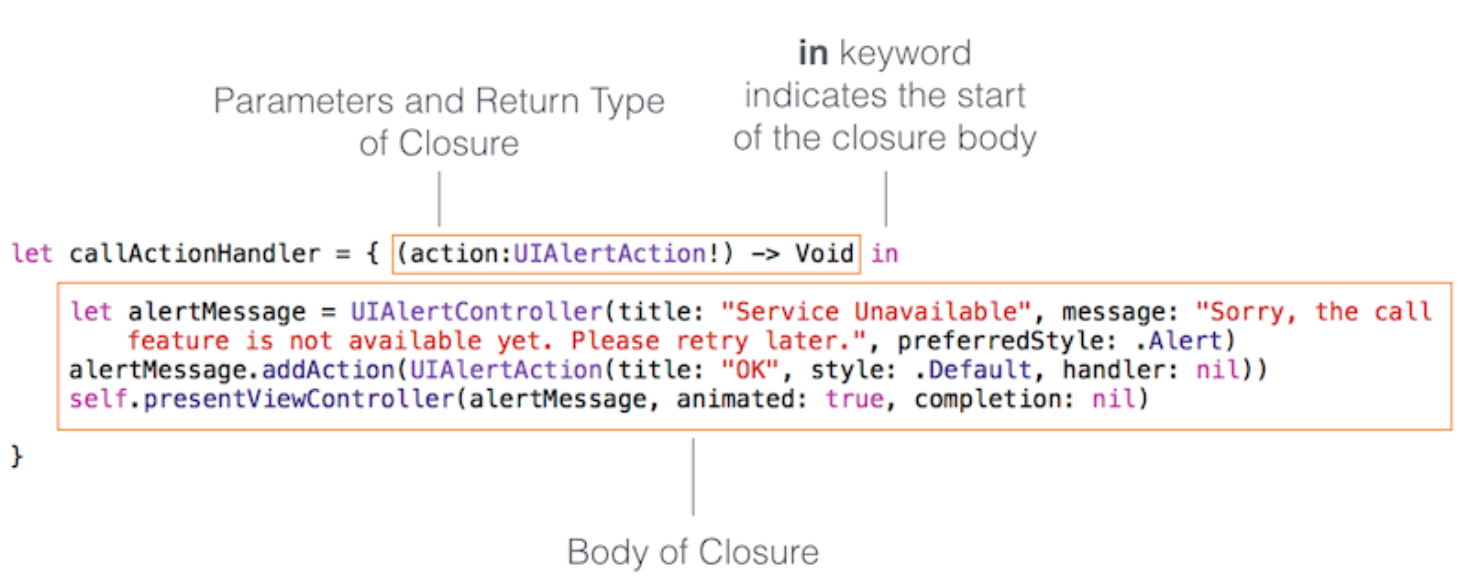 그림 참고 : www.appcoda.com
Login 만들기


//  ViewController.swift
//  TextFieldAlertControllerTest

import UIKit

class ViewController: UIViewController {

    @IBAction func loginPressed(sender: AnyObject) {
        // 1. 반드시 옵셔널 변수 선언(초기화하기 않아도 됨)
        var usernameTextField: UITextField?
        var passwordTextField: UITextField?

        // 2.
        let alertController = UIAlertController(title: "Log in", message: "Please enter your account", preferredStyle: .Alert)

        // 3. 클로져를 사용한 이벤트 처리 : 후행 클로져(Trailing Closure)
        let loginAction = UIAlertAction(title: "Log in", style: .Default) { (action: UIAlertAction) -> Void in

            if let username = usernameTextField!.text {
                print("Username = \(username)")
            } else {
                print("No Username entered")
            }

            if let password = passwordTextField!.text {
                print("Pasword = \(password)")
            }
        }

        //3-1 클로저를 사용한 이벤트 처리
//        let loginAction = UIAlertAction(title: "Log in", style: .Default, handler: {
//            (action: UIAlertAction) -> Void in
//                if let username = usernameTextField!.text {
//                    print("Username = \(username)")
//                } else {
//                    print("No Username entered")
//                }
//
//                if let password = passwordTextField!.text {
//                    print("Pasword = \(password)")
//                }
//            })

        //4. 첫번째 TexrField 추가 및 이벤트 처리
        alertController.addTextFieldWithConfigurationHandler { (txtUsername: UITextField) -> Void in
           usernameTextField = txtUsername
            usernameTextField!.placeholder = "<Your username here>"
        }

        // 두번째 TexrField 추가 및 이벤트 처리
        alertController.addTextFieldWithConfigurationHandler { (txtPassword) -> Void in
            passwordTextField = txtPassword
            passwordTextField?.secureTextEntry = true
            passwordTextField?.placeholder = "<Your password here>"
        }

        //5.
        alertController.addAction(loginAction)
        presentViewController(alertController, animated: true, completion: nil)
    }
    override func viewDidLoad() {
        super.viewDidLoad()
        // Do any additional setup after loading the view, typically from a nib.
    }
}
Closure 참고
var numbers = [20, 10, 5, 32, 6]
let mappedNumbers:[Int] = numbers.map({(a: Int) -> Int in
    return a + 1})

println(mappedNumbers)
// 후행 클로져(Trailing Closure) : 함수의 마지막 인자가 클로저 일때
var numbers = [20, 10, 5, 32, 6]
let mappedNumbers = numbers.map() {
         (a: Int) -> Int in
          return a + 1
}

println(mappedNumbers)
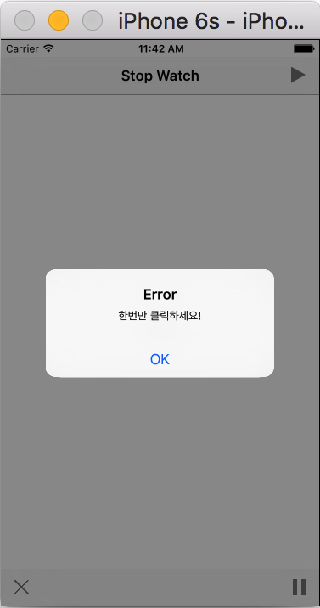
Stop Watch 만들기


//  ViewController.swift
//  Stop Watch
import UIKit

class ViewController: UIViewController {
    var timer = NSTimer()
    var counter = 0
    @IBOutlet var timeLabel: UILabel!

    @IBAction func timePlay(sender: AnyObject) {

        timer = NSTimer.scheduledTimerWithTimeInterval(1, target: self, selector: Selector("updateTime"), userInfo: nil, repeats: true)
    }

    @IBAction func timeStop(sender: AnyObject) {
        timer.invalidate()
        counter = 0
        timeLabel.text = String(counter)
    }

    @IBAction func timePause(sender: AnyObject) {
        timer.invalidate()
    }

    func updateTime() {
        counter++
        timeLabel.text = String(counter)
    }

    override func viewDidLoad() {
        super.viewDidLoad()
        // Do any additional setup after loading the view, typically frm a nib.
    }
}
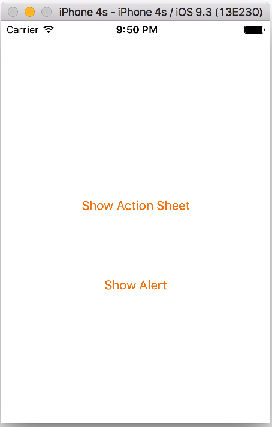
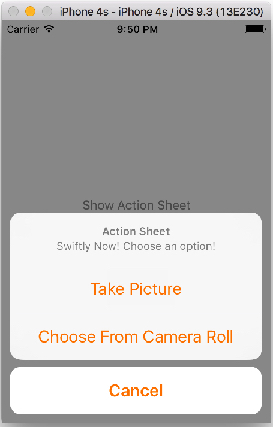
[코딩 문제 10] 아래 실행 결과를 참고하여 UIAlertController을 사용하여 윗 버튼(Show Action Sheet)을 터치하면 ActionSheet가, 아래 버튼(Show Alert)을 터치하면 AlertView가 출력하도록 제작하시오.
[코딩 문제 11] Stop Watch 업그레이드 하기
- 현재 제작한 Stop Watch는 play를 하고 있는 상태에서 다시 play를 하면 Timer가 중복으로 작동하여 시계를 두배 빠르게 작동하게 한다. 이러한 문제점을 해결하시오(play 상태에서는 play를 하지 못하도록 하고 Alert로 알려 주기 바람)
- AutoLayout을 사용하여 모든 디바이스 크기 및 회전에도 대응하도록 하시오.